Completing, Editing, and Scoring Measures
Finding a client on POD
To complete, edit, or score a measure, you first need to select the client you wish to work with. Once you have logged into POD and selected the project you wish to work on (see Accessing your project), the first page you will arrive at is the "Clients" page:
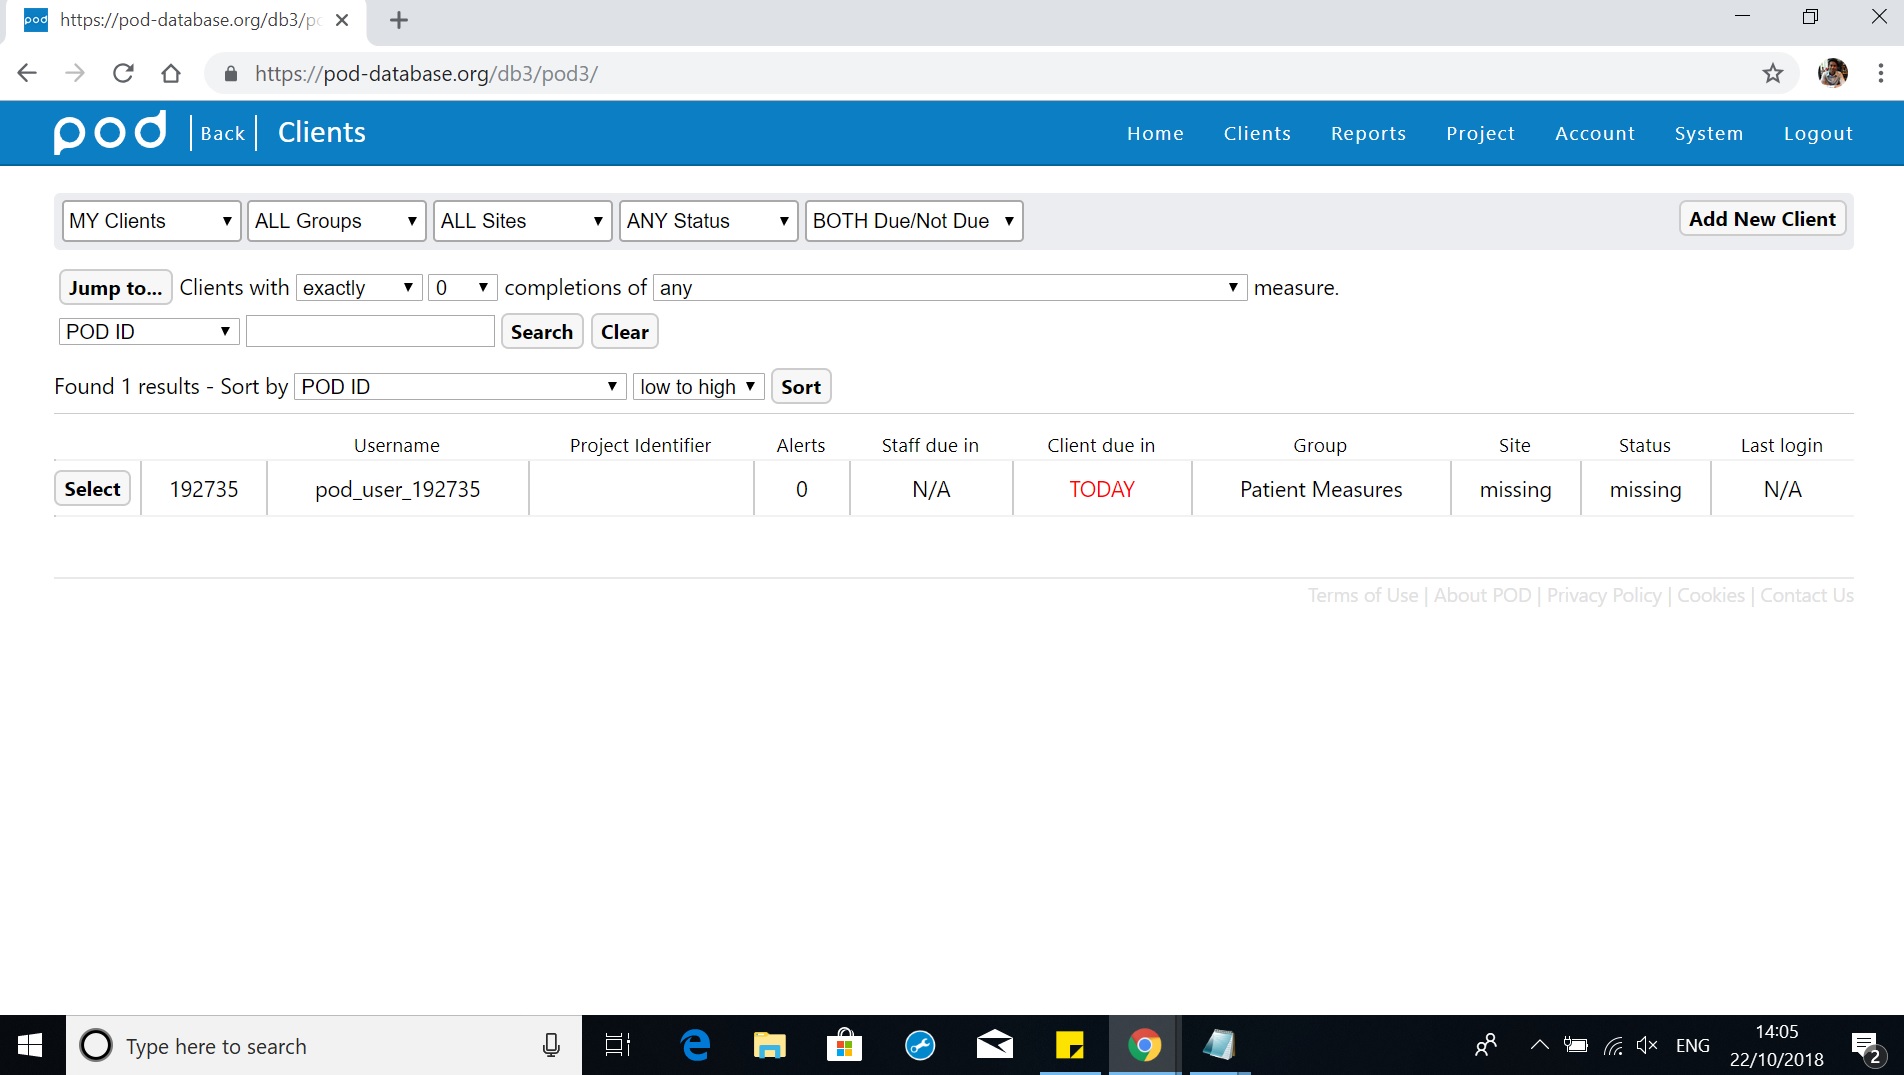
"This will list all of the clients assigned to your staff account. If you are a staff member with advanced permissions, you will be able to use the dropdown menu labelled "ALL clients" to select all clients, which will then display all clients within the project rather than just those assigned to yourself.
NOTE: You can access the “Clients” page at any time whilst using POD, by clicking the “Clients” menu tab (located on the top).
You can now use the other drop down menus, or the search box, to filter down and locate the client you wish to complete, edit or score measures for. Once you have found the client you wish to work with, click the “Select” button next to that client.
Client Dashboard
Once you have found and selected a client, POD will display that client's "client dashboard":

The "client dashboard" shows you various details about the selected client, allows you to update some account settings, and gives you access to the measures for that client. If you click on the attribute, you can alter the defualt attribute. For example, in the example above click "missing" under the "attributes" box in order to change the status of the client.
Client Account Settings: Attributes
- GROUP - You can assign the client to a group and each group will then correspond to a set of measures.
- SITE - You can assign the client a site depending on where they are based.
- STATUS - You can assign a status to the client depending on the progress of the client.
Measures Assigned for Completion
This section of the client dashboard gives you access to all the measures assigned to the client.
The "measure controls" allow you to add/complete a measure, edit an exisiting measure completion, view scores of any previous measure completions, set customised completion dates, and also switch a measure on/off for that client.
The "due indicators" tell you if any measures are due for this client, and who is to complete them.
Completing Measures
To complete a measure for a client, first navigate to the client dashboard for that client, then click the start (+) button next to the measure you wish to complete. POD will already know who is completing the measure so all you have to do is fill in the date.
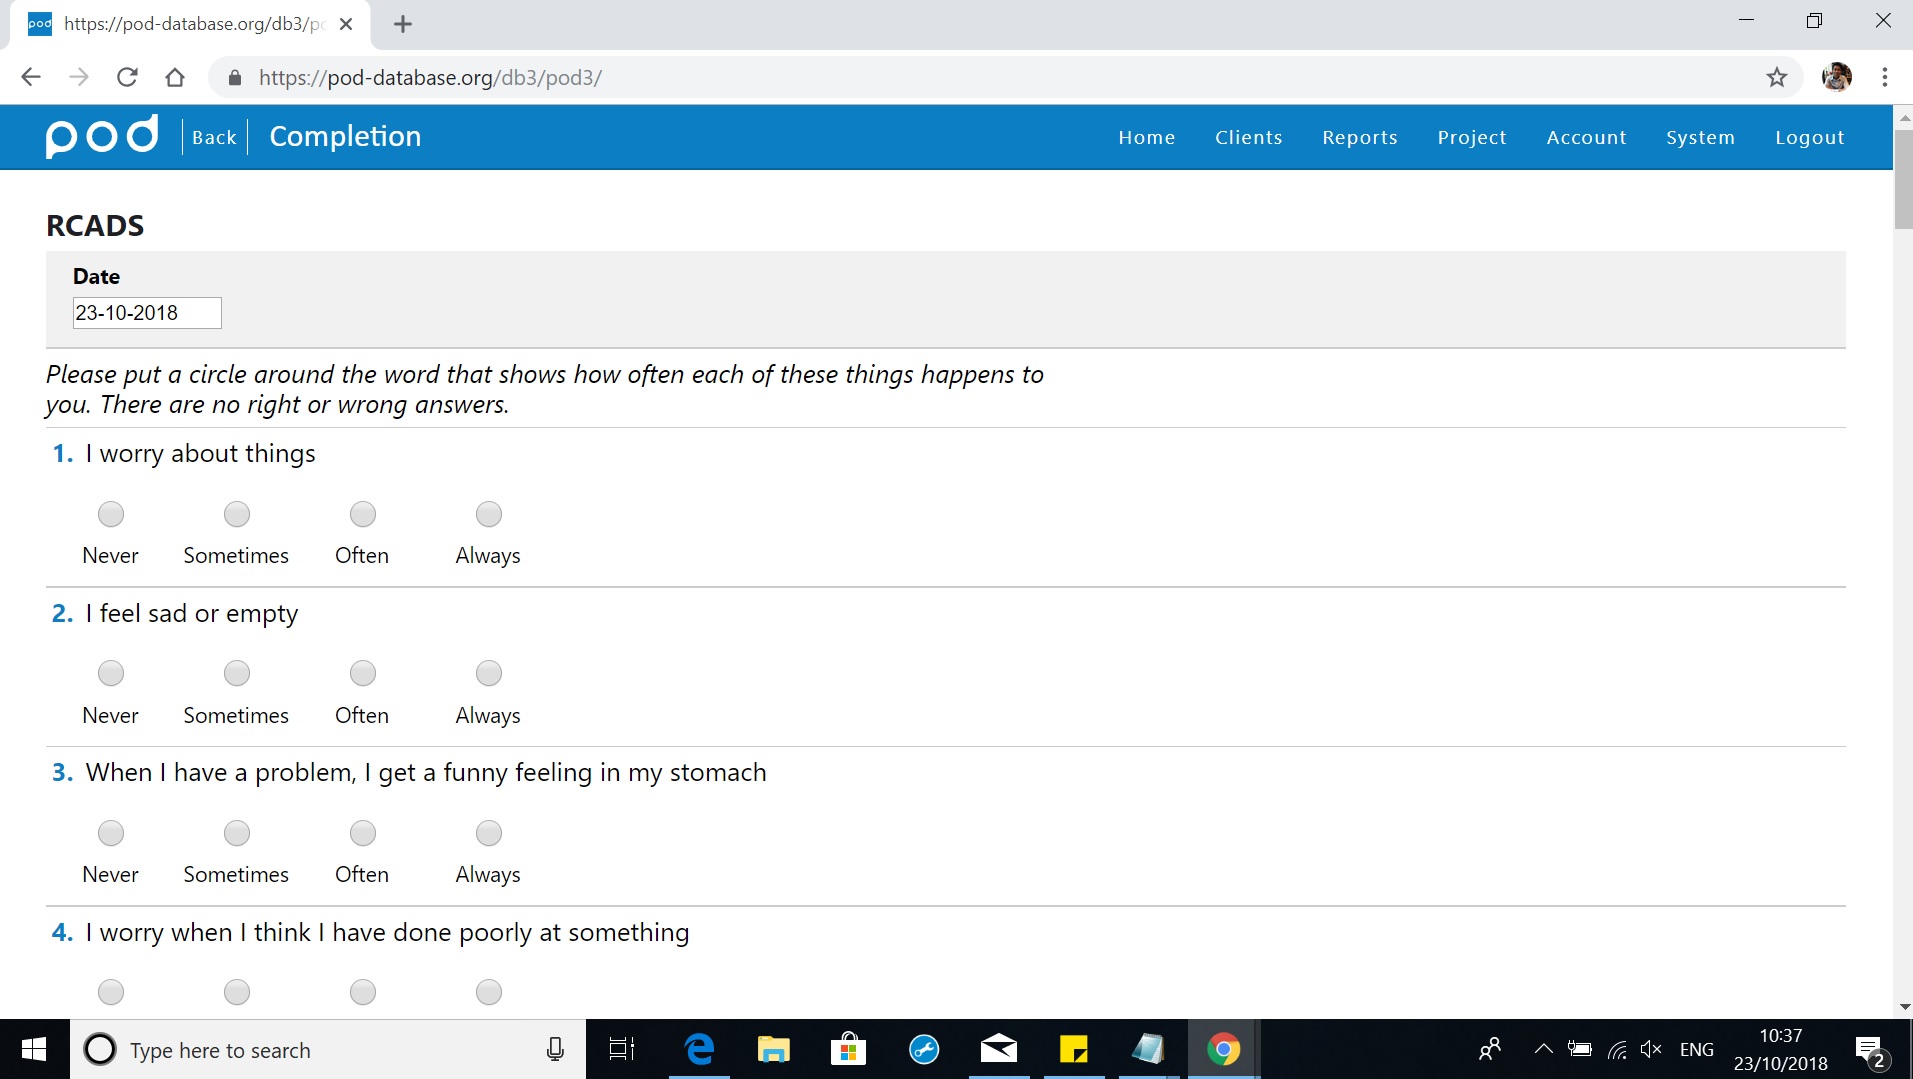
Click the appropriate option in order to answer a question. The date defaults to the current date, but to change it you can click the date box and choose a different date. Then continue to answer all the appropriate measure questions. When the measure is complete, click the submit button at the bottom of the page. POD will display a message confirming the the measure data has been saved. Click continue to return to the client dashboard.
Editing Measures
Once you have completed a measure, it will take you to a new page (see below).
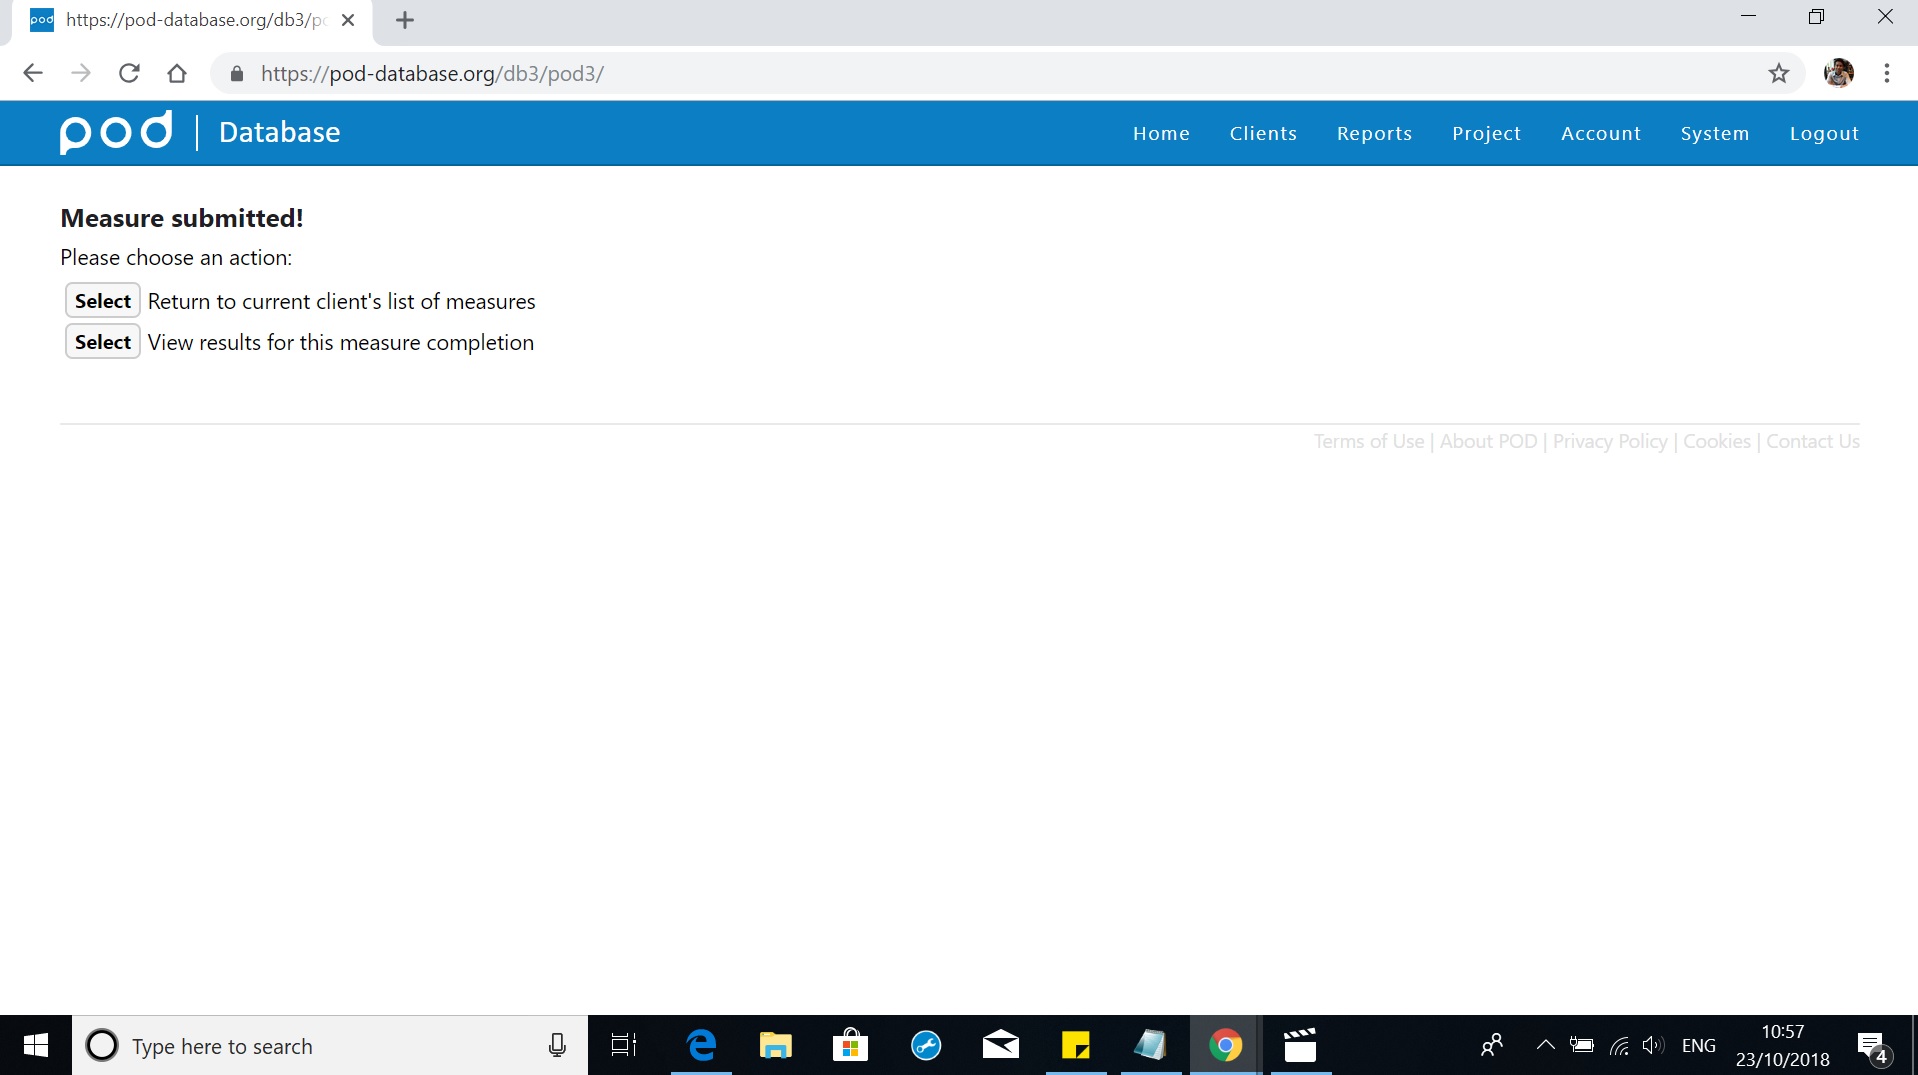 You can then choose to return to the other measures listed for the client or you can view the results for the completed measure.
Scoring Measures
Scoring measures look different on POD3. In order to access the scoring, click on the "Results/Scores" tab under the measure you would like to see.

Once you click on the results/scores tab, it should take you to a page which looks like this:
 The example above shows the scoring of the RCADS for a fictional patient. All the subscales appear on the graph and you can see the differences in values between the two timepoints. You can choose which subscale you would like to show at the top of the graph. If you think your client would prefer to see their progress in a different format, you can change it in the options bar next to the "All Subscales and Totals". On the top right of the graph, you can use that function to export the graph as an image.